- Deutsch
- Français
- Italiano
- Nederland
- 日本の
- 简体中文
- Русский
- Svenska
- Dansk
- Português
- Español
- Norsk
- Polski
- עִבְרִית
- 한국어
- Magyar
- Ελλάδα
- Tiếng Việt
- Hrvatski
iOS 12 FAQ – All You Need to Know
-
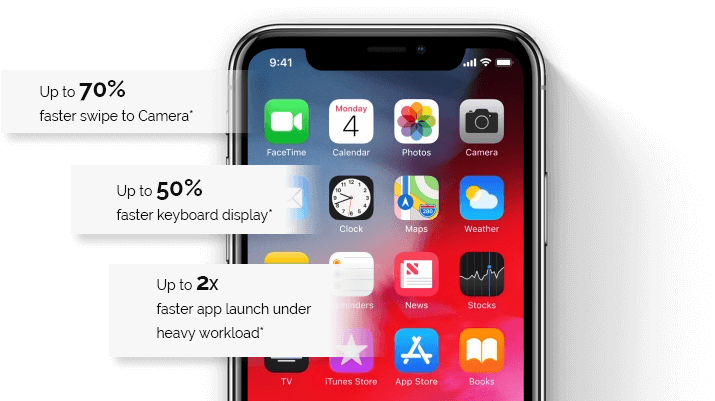
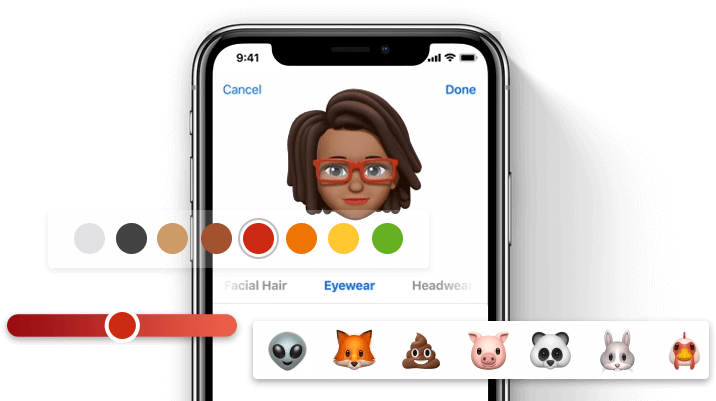
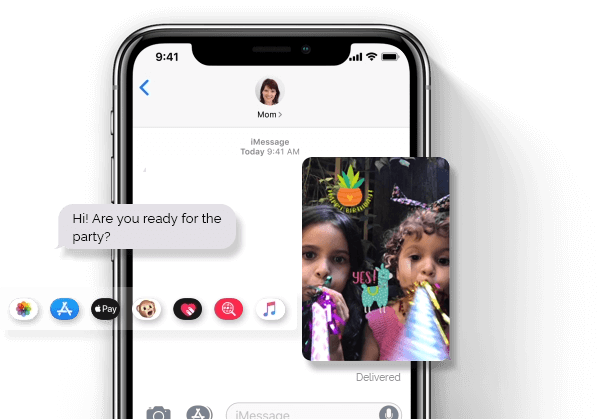
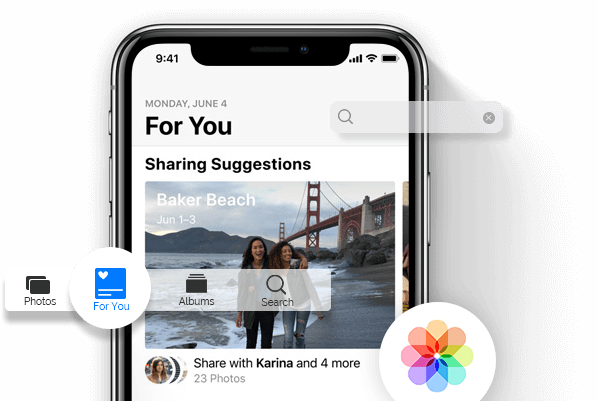
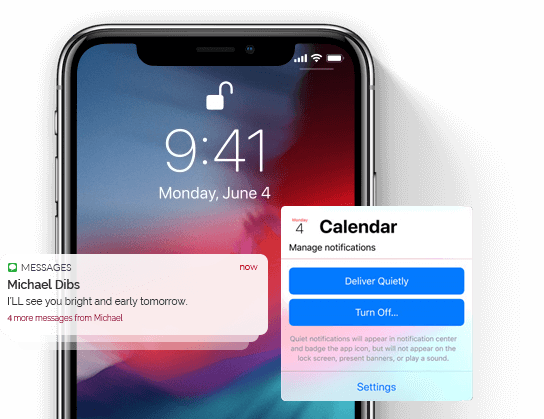
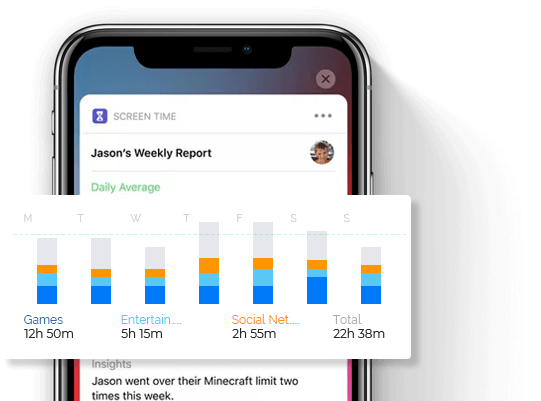
What’s New in iOS 12
-
What to Do before Upgrade
-
iOS 12 Common Problems
-
How to Downgrade from iOS 12


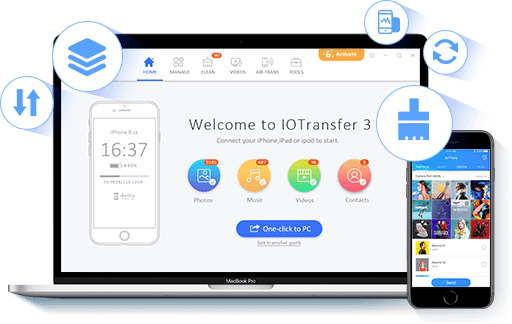
IOTransfer iPhone Manager Ensures You Safe Upgrade to iOS 12
What Should You Do before Upgrading to iOS 12?
Since you’ve seen so many amazing new features of iOS 12, you just can’t wait to install the software immediately and try it by yourself. But be patient, there are still some preparations to do, or things may not go the way you expect.
1. Check out the Feedbacks from iOS 12 Users and Evaluate the Risk
Before the release of iOS 12 standard version, Apple has offered dozens of beta trials for users to test. According to their feedbacks, there are more or less problems occurring after the software is installed. So, you’d better be acknowledged what problems you may encounter beforehand
2. Make Sure Your Device is iOS 12 Supported
Not all iPhone modules can support iOS 12 upgrading. Only iPhone 5s, iPhone 6, iPhone 6 Plus, iPhone 6s, iPhone 6s Plus, iPhone SE, iPhone 7, iPhone 7 Plus, iPhone 8, iPhone 8 Plus, and iPhone X are perfectly compatible with iOS 12.
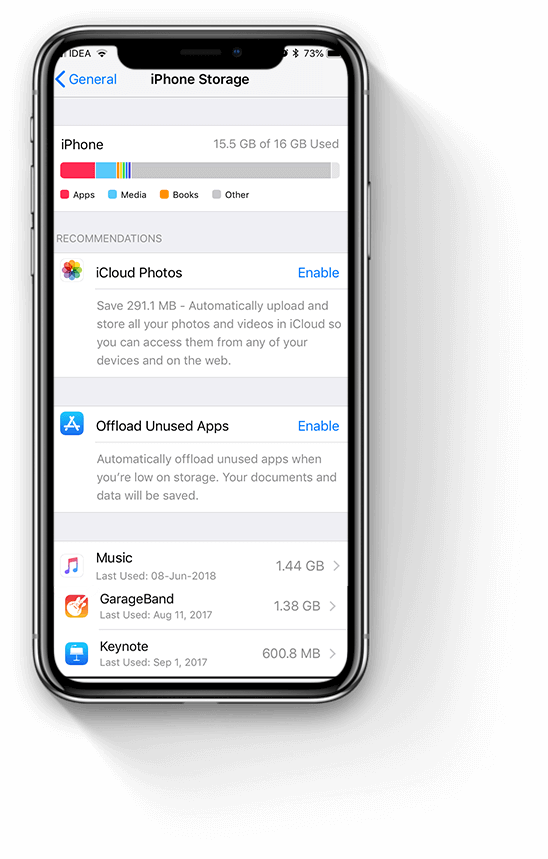
3. Make Sure There Is Enough Storage
The update of iOS 12 will ask for sizable storage space. If your device is already filled up with unused Apps and cookies and no more space left. The iOS 12 installation can become a total failure. So, do remember to keep your iOS device clean by removing extra data and junk files.
To easily remove cache and junk files, you can check:
How to
Clear App Cache on iPhone at Once.
4. Back up Your Device in the First Place
Every time a new iOS version was released, we could always hear someone’s data get lost after updating his or her device. Losing your contacts, exclusive photos, recordings, and Apps can be a big headache. Here, we strongly suggest you have a full back up of your iOS device before upgrading it to iOS 12.
5. Learn about the Downgrade Rule
Last but not least, remember that you can only downgrade your device to a recent version of iOS 11 and Apple
now is signing off iOS 11.41. As to how to downgrade iOS 12 to iOS 11
check
this full detailed guide.
How to Downgrade iOS 12 to iOS 11?
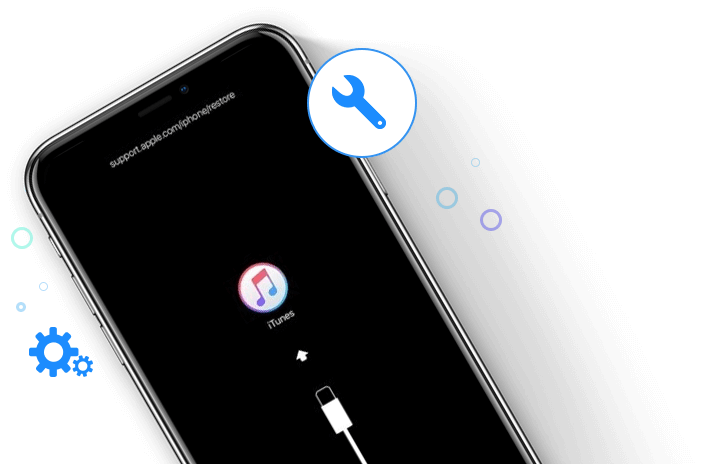
If you cannot get used to the new iOS 12 or find it too glitchy, you can always go back. As long as Apple is still signing iOS 11.XX.XX, you can revert back to that version of iOS. At the moment, Apple has stopped signing iOS 11.3, so you can only revert back to iOS 11.4.
If you have backed up your iOS device with iTunes, you can restore to iOS 11 with iTunes backup. If you do not have a backup, you can also downgrade to iOS 11 without data loss. Read on to see the step by step guide.
Method 1 Downgrade iOS 12 without iTunes Backup
By theory, this method will not cause data loss in any kind. In case something goes wrong, you should also backup your iPhone, iPad or iPod Touch before trying the steps below.
Step 1. Connect your iOS device to your computer and open up iTunes.
Step 2. If you are using the iOS beta version, you need to delete the beta profile from your device. Open Settings app and then go General> Profiles to remove the iOS 12 Beta Software Profile.
Step 3. Download corresponding iOS 11 on your computer. You can head over to ipsw.me and select your device and iOS version (the green one) to download it.
Step 4. Hold the Alt key on a Mac or Shift on Windows, and then you click Check for updates.
Step 5. Select the IPSW file that you just downloaded.
After that, iTunes will start downgrading your device to iOS 11. With this method, your data will remain intact if the process go smooth. All of your apps, photos, contacts, and everything else will be the same as you running iOS 12.
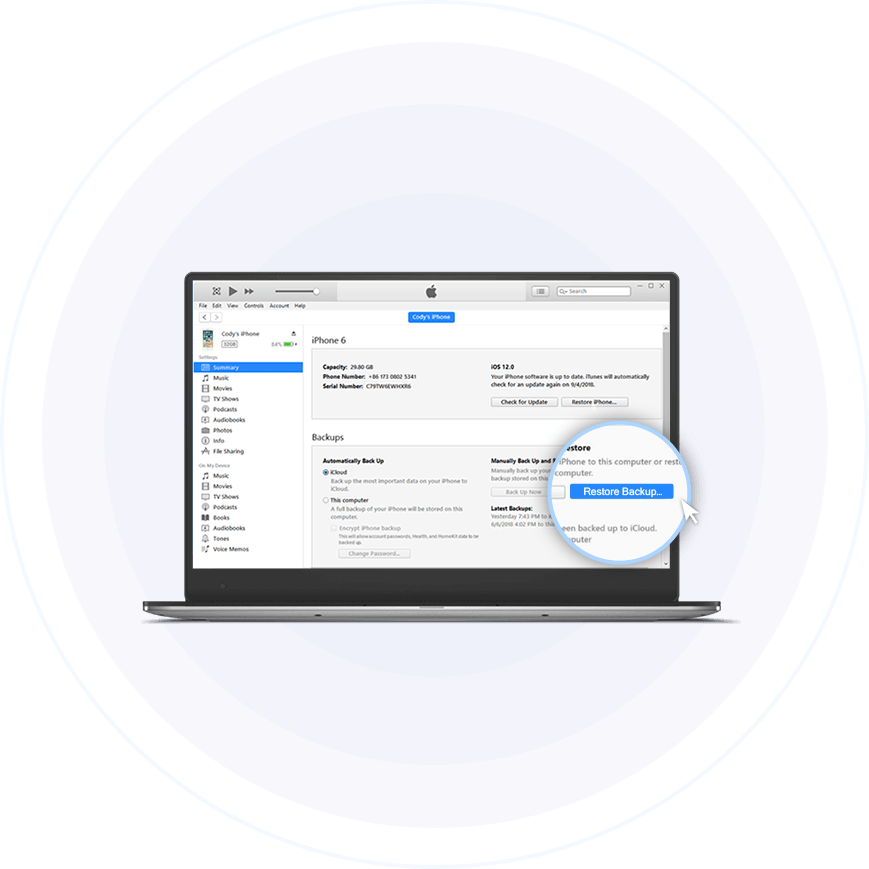
Method 2 Downgrade iOS 12 with iTunes Backup
If you have a iTunes backup of your iOS device before upgrading to iOS 12, that’s great because you can easily restore to iOS 11.
The data you saved on your iOS device after the backup will be deleted, so it is highly recommended to backup your iPhone, iPad or iPod Touch. To do that, you can use iPhone Transfer software to transfer all media files to your PC in one click and transfer the newly added files to your iOS device after restoring to iOS 11.
Step 1. Connect your iPhone, iPad, or iPod Touch to your PC or Mac and launch iTunes.
Step 2. Hold the Shift on Windows or Option key on a Mac, and click Restore.
Step 3. Then you would be prompted to select the iTunes backup file (.ipsw). Navigate to the iTunes backup location and select the iTunes backup before you upgrade to iOS 12.
Step 4. iTunes would erase your device and install iOS 11.4 from scratch along with all the data included in the backup.
When the downgrade process is completed, your device will boot up into the setup screen. Then you can select Restore from backup. You can select the iCloud backup that you've created on iOS 11.
When that complete, all your data will be restored on your iOS 11.4 device.
IOTransfer iPhone Manager Ensures You Safe Upgrade to iOS 12
- About IOTransfer
- About Us
- Contact Us
- FAQs
- Support
- Knowledge
- Top Tips
- iOS 12 Tips
- iOS 11 Settings
- Camera & Photos
- iPhone to PC Transfer
- iPhone to iPhone Transfer
- Manage iPhone Contacts
- Windows 11 Tips
- Free Tools
- Free Online GIF Maker
- Online Mic Test
- Online Sound Test
- HEIC to JPG Converter
- Instagram Photo Downloader
- Connected With IOTransfer
-


© 2026 IOTransfer. All Rights Reserved | Privacy Policy | Refund Policy | Shipping Policy

We use cookies to improve content and ensure you get the best experience on our website. Learn more about our privacy policy.
I Accept